
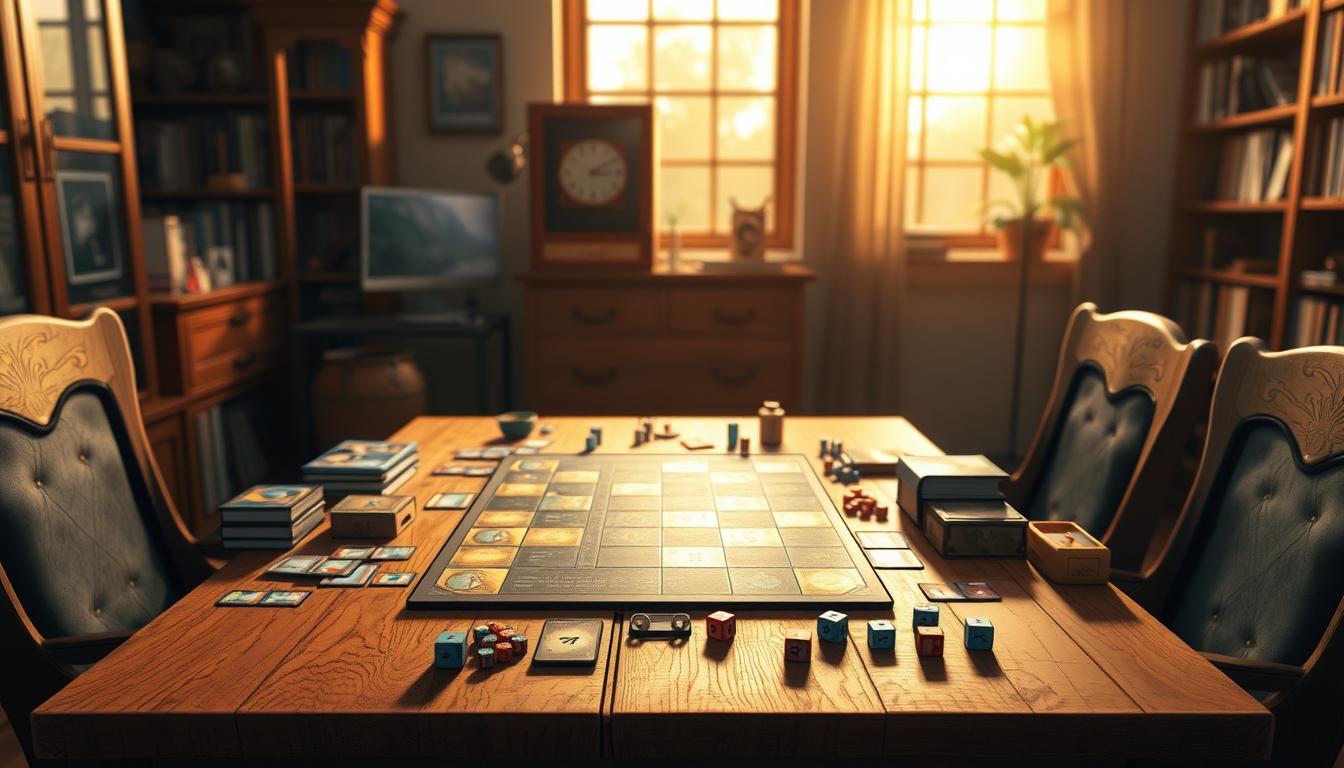
Have you ever wondered what it takes to bring a unique board game to life? In a world where DIY projects are gaining popularity, designing your own game offers a rewarding and creative outlet. From brainstorming ideas to crafting the final product, the process is both challenging and fulfilling.
This guide outlines a 10-step journey, starting with the initial concept and ending with production. Real-world examples, like successful crowdfunded projects on Kickstarter, show that anyone can turn their vision into reality. Balancing creativity with practical design considerations is key to creating a game that’s both fun and functional.
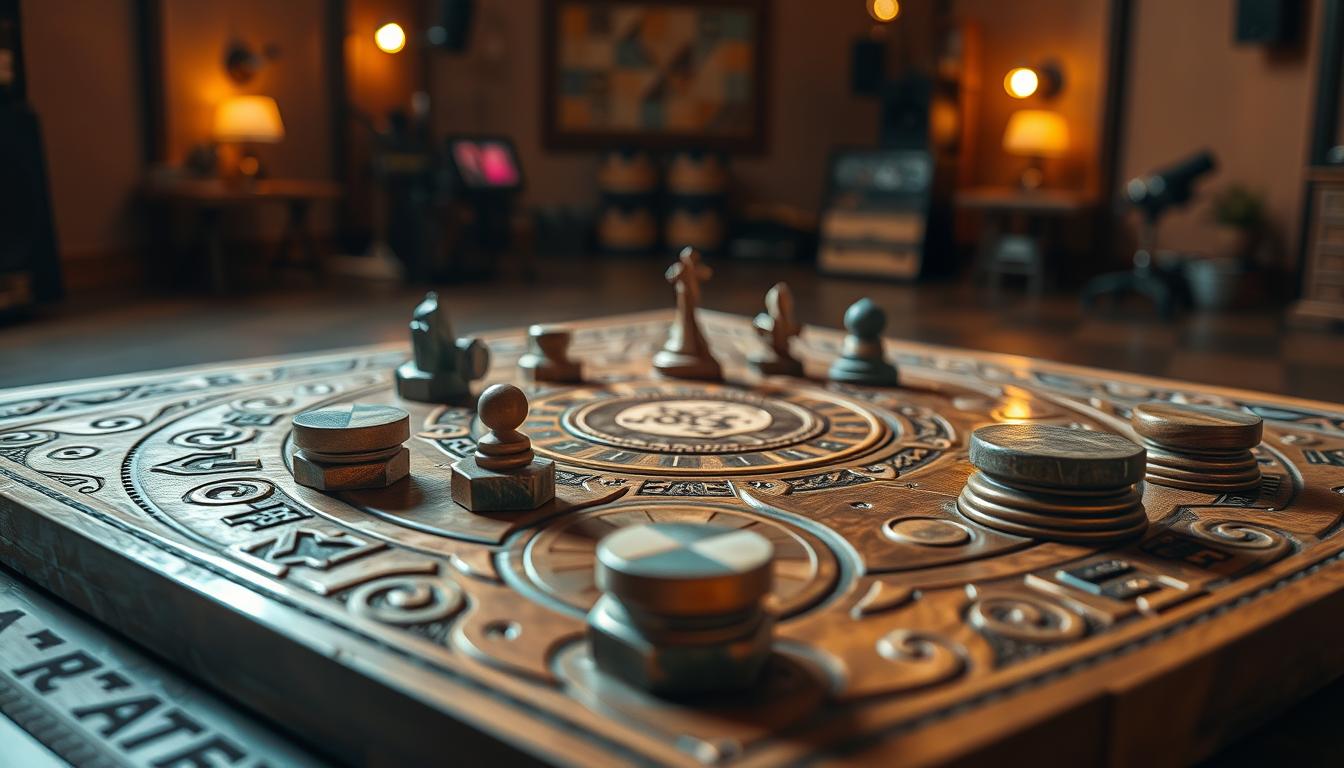
Experimentation is encouraged at every stage. Whether you’re a seasoned designer or a beginner, this guide will help you navigate the process with confidence. Ready to dive in and explore the world of board game creation? Let’s get started!
Contents
- 1 1. Understand the Basics of Board Game Design
- 2 2. Brainstorm Your Game Idea
- 3 3. Sketch Out Your Game Concept
- 4 4. Design the Game Board
- 5 5. Create Game Pieces and Components
- 6 6. Develop the Rules and Gameplay
- 7 7. Build a Prototype and Test It
- 8 8. Refine Your Game Design
- 9 9. Prepare for Production
- 10 10. Conclusion: Share Your Game with the World
- 11 FAQ
- 11.1 What makes a great board game?
- 11.2 Why create your own board game?
- 11.3 How do you choose a theme and style?
- 11.4 What materials are best for prototyping?
- 11.5 How do you balance game mechanics?
- 11.6 What’s the best way to gather feedback?
- 11.7 How do you finalize the rules and components?
- 11.8 What manufacturing options are available?
- 11.9 How do you share your game with the world?
Key Takeaways
- DIY board games are growing in popularity, offering a personalized gaming experience.
- The 10-step process covers everything from concept to final production.
- Real-world success stories, like Kickstarter projects, inspire creativity.
- Balancing creativity with practical design is essential for a successful game.
- Experimentation is encouraged throughout the development process.
1. Understand the Basics of Board Game Design
Every great game starts with a solid foundation of design basics. Whether it’s a classic like Monopoly or a modern favorite like Risk, the best games share common elements. These include clear rules, balanced mechanics, and meaningful player interaction. Understanding these principles is essential for crafting a game that’s both enjoyable and engaging.
What Makes a Great Board Game?
A great game offers a mix of challenges and rewards. Clear rules ensure that players understand how to play, while balanced mechanics keep the experience fair and competitive. Player interaction is another key factor, as it fosters connection and fun. Games like Monopoly and Risk excel in these areas, making them timeless favorites.
Another important aspect is the “time to fun ratio.” Players should feel engaged from the start, without long periods of waiting or confusion. Emotional engagement, such as excitement or strategy, also plays a role in creating a memorable experience.
Why Create Your Own Board Game?
Designing a game can be a rewarding experience. It allows for personal creativity, as you bring your unique ideas to life. Games can also serve as educational tools, teaching skills like problem-solving and teamwork. For those with commercial ambitions, the $12 billion board game market offers significant potential.
Tools like Tabletop Creator make the process easier by helping designers visualize prototypes. This software allows for quick adjustments, ensuring the final product is polished and professional.
| Game | Clear Rules | Balanced Mechanics | Player Interaction |
|---|---|---|---|
| Monopoly | Yes | Yes | High |
| Risk | Yes | Yes | High |
By analyzing popular games and applying core design principles, anyone can create a game that’s both fun and functional. The journey begins with understanding the basics and building from there.
2. Brainstorm Your Game Idea
The first step in designing a game is to let your imagination run wild. Brainstorming helps shape the idea into something tangible. Whether it’s a cooperative adventure or a strategic duel, the possibilities are endless.

Choosing a Theme and Style
When starting, designers often choose between a theme-first or mechanics-first approach. A theme-first method focuses on the story or setting, like the global crisis in Pandemic. On the other hand, mechanics-first prioritizes gameplay, as seen in the abstract strategy of Chess.
Popular game categories include:
- Abstract: Focused on strategy, like Chess.
- Eurogames: Emphasizing resource management.
- Thematic: Story-driven, like Pandemic.
- Party: Designed for large groups and social interaction.
- Deduction: Requiring logic and reasoning.
- Wargames: Centered on tactical combat.
Defining the Target Audience
Understanding the players is crucial. Consider factors like age range, player count, and complexity. For example, 35% of gamers prefer family-friendly themes, making them a popular choice for broader appeal.
Recent Kickstarter successes show that unique design and clear differentiation can attract backers. Engaging with communities like the Board Game Design Lab can also provide valuable feedback during this stage.
| Game Category | Focus | Example |
|---|---|---|
| Abstract | Strategy | Chess |
| Thematic | Story | Pandemic |
| Party | Social Interaction | Codenames |
By combining a strong theme with the right mechanics, designers can create a game that resonates with their target audience. The brainstorming phase is where creativity meets structure, laying the groundwork for a successful project.
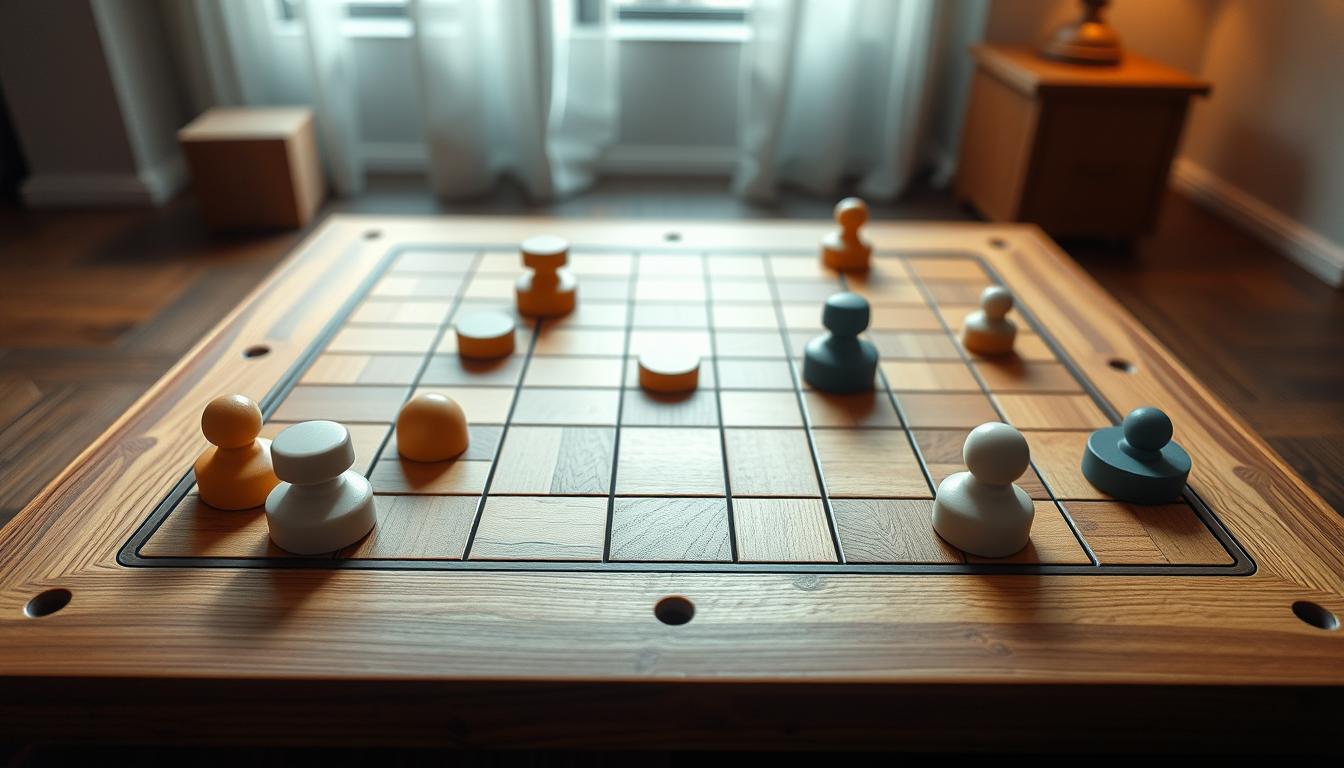
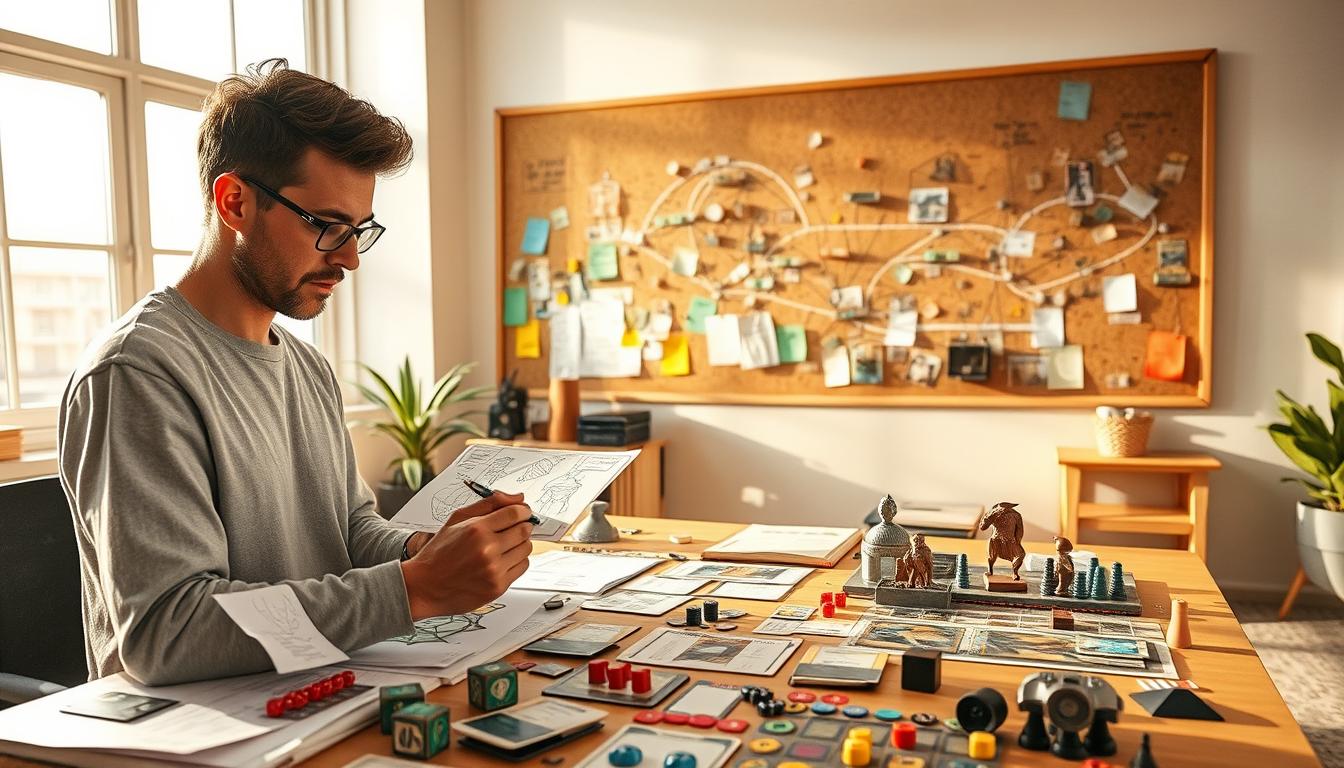
3. Sketch Out Your Game Concept
Turning a creative idea into a tangible game concept is an exciting step in the design process. This phase bridges imagination and structure, transforming abstract thoughts into a playable framework. Start with rough sketches and gradually refine them into a functional layout.
Creating a Rough Layout of the Board
Begin by sketching a basic board layout using simple materials like cardboard, paper, and pencils. Rapid prototyping techniques, such as sticky notes and index cards, allow for quick adjustments. This hands-on approach helps visualize the game’s flow and identify potential issues early.

A modular design approach is highly effective. Test individual components separately to ensure they work well together. For example, create separate sections for player movement, resource management, and scoring. This method simplifies troubleshooting and enhances overall balance.
Developing Initial Rules and Mechanics
Clear and concise rules are essential for a smooth gameplay experience. Start by drafting a basic rule set, focusing on core mechanics. Use examples from successful games like Catan to guide your writing. Ensure the rules are easy to understand but leave room for strategic depth.
Playtesting is crucial during this stage. Gather feedback from friends or family to identify areas for improvement. Adjust mechanics based on their input to create a more engaging experience. Tools like Inkscape can help transition rough sketches into polished digital mockups, providing a clearer vision of the final product.
For those looking to take their idea further, exploring how to sell a board game can provide valuable insights into the next steps. This resource offers practical tips for turning a prototype into a marketable product.
4. Design the Game Board
Designing a game board is where creativity meets practicality. This stage transforms ideas into a physical layout that players can interact with. Whether using simple materials or advanced tools, the process is both exciting and rewarding.
Using Simple Materials for Prototyping
Starting with basic materials like cardboard and paper is a cost-effective way to prototype. These materials are easy to cut, shape, and modify, making them ideal for early testing. Tools like X-Acto knives and sticky notes allow for quick adjustments.
For strategy games, hex-based maps are a popular choice. Tutorials on creating these maps can guide beginners through the process. Modular designs, like those in Gloomhaven, offer flexibility and scalability, making them a great reference.
Exploring Advanced Design Tools
For those ready to take their design to the next level, tools like Adobe Illustrator and Photoshop provide professional results. Laser cutting options offer precision, while 3D printing allows for custom components. The Cricut Maker is another affordable tool for precise cuts.
Comparing material costs is essential. While cardboard is inexpensive, wood and 3D-printed components offer durability and a polished look. Resources like Thingiverse provide templates for common board elements, saving time and effort.
By combining simple prototyping with advanced tools, designers can create a board that’s both functional and visually appealing. This stage is crucial for turning ideas into a tangible product.
5. Create Game Pieces and Components
Crafting game pieces and components is a crucial step in bringing your vision to life. These tangible elements are what players interact with, making them essential for an immersive experience. Whether you’re prototyping with household items or designing custom pieces, this stage is where creativity shines.
Using Household Items for Prototyping
Prototyping doesn’t require expensive materials. Everyday items like beer bottle caps, LEGO minifigs, or buttons can serve as tokens or markers. These materials are not only cost-effective but also allow for quick adjustments during testing. For example, bottle caps can represent resources, while LEGO pieces can act as character markers.
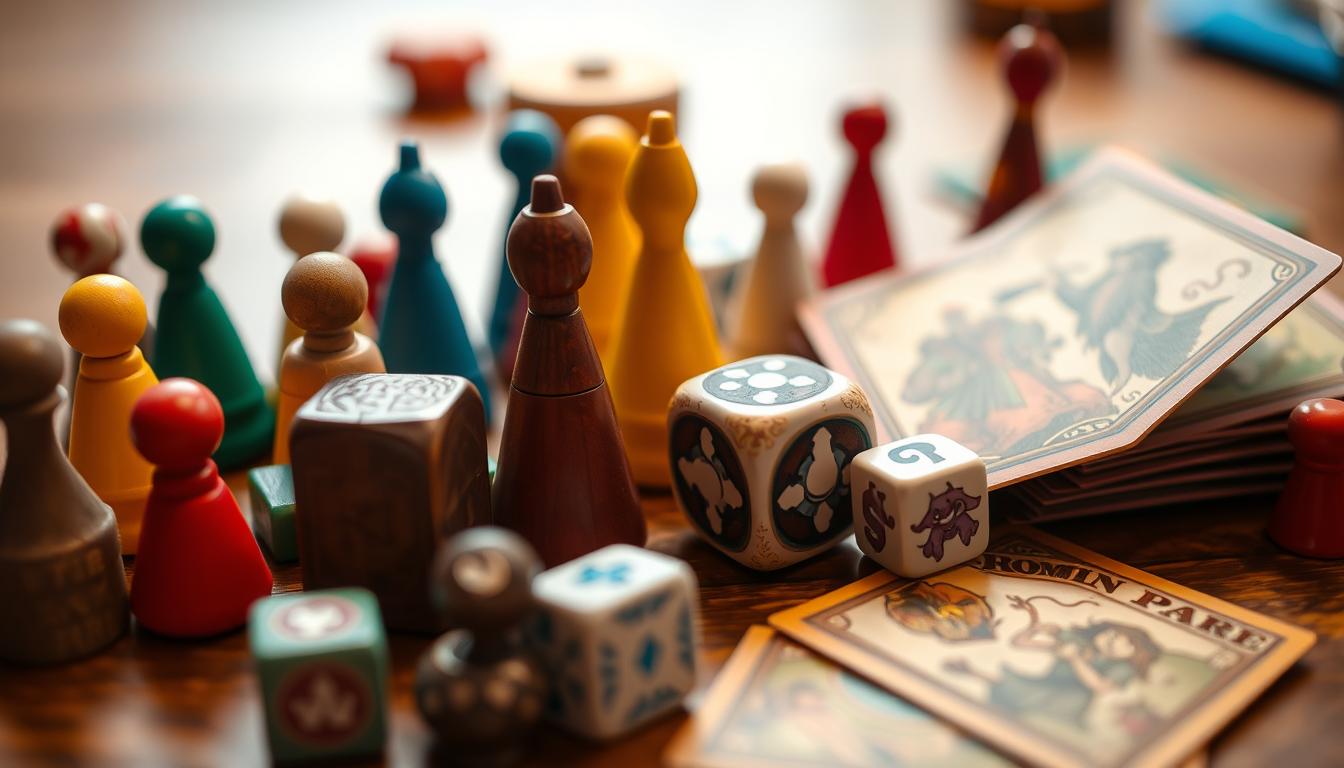
Creative upcycling is a sustainable approach that adds a personal touch to your game. It’s also an excellent way to test mechanics before investing in more polished components. Accessibility considerations, such as colorblind-friendly designs, can be addressed early in this phase.
Designing Custom Pieces with 3D Printing
For those looking to elevate their design, 3D printing offers endless possibilities. Platforms like Thingiverse provide a repository of pre-made models, while tools like Tinkercad allow for custom creations. Beginners can follow step-by-step guides to learn basic modeling techniques.
Cost is a factor to consider. Home printing is affordable but may lack precision. Professional services like Shapeways offer high-quality results but at a higher price. Below is a comparison of the two options:
| Option | Cost | Quality |
|---|---|---|
| Home Printing | $0.50-$2 per piece | Moderate |
| Shapeways | $5-$20 per piece | High |
Real-world examples, like Wingspan’s custom egg tokens, show how unique components can enhance the game experience. Whether you choose to prototype with household items or invest in 3D printing, the goal is to create pieces that resonate with players and bring your vision to life.
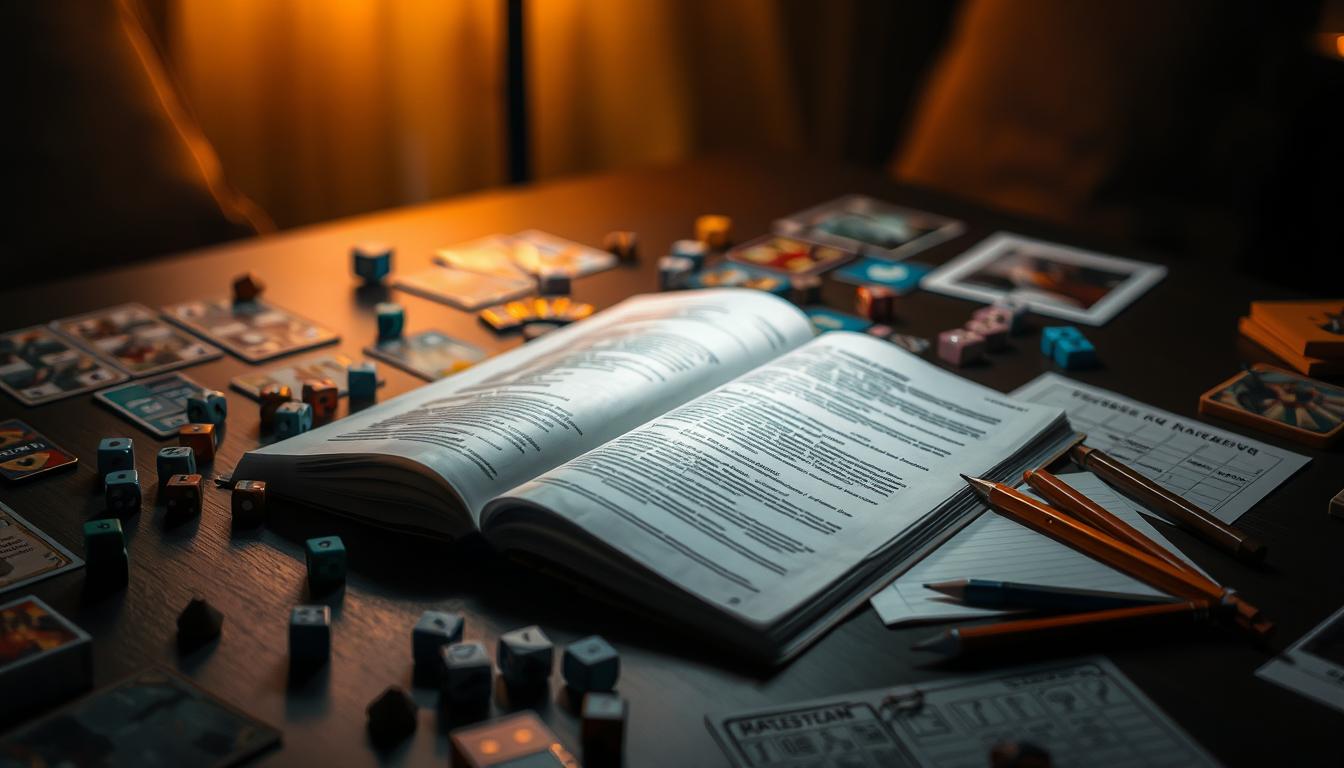
6. Develop the Rules and Gameplay
Crafting clear and engaging rules is the backbone of any successful game. Without well-defined guidelines, players may feel confused or frustrated. This step ensures the game is both fun and functional.
Ensuring Clarity and Consistency
A well-written rulebook is essential. Common pitfalls include overly complex language and inconsistent instructions. To avoid these, use simple terms and provide examples. For instance, Terraforming Mars uses concise language to explain resource management.
Playtesting is crucial for identifying unclear rules. Tools like Tabletop Simulator allow for digital testing, making it easier to refine the design. Gathering feedback from diverse groups ensures the game is accessible to all players.
Balancing Game Mechanics
Balancing mechanics ensures fairness and keeps players engaged. Mathematical techniques, like using Excel spreadsheets, help track resource distribution and scoring. For example, Terraforming Mars balances resources to maintain a steady pace.
Progressive difficulty scaling adds depth. Start with simple mechanics and introduce complexity as players advance. This approach keeps the game challenging without overwhelming beginners.
| Technique | Purpose | Example |
|---|---|---|
| Mathematical Balancing | Ensures fairness | Resource tracking in Terraforming Mars |
| Progressive Scaling | Adds depth | Introducing advanced rules in Catan |
By focusing on clarity and balance, designers can create a game that’s both enjoyable and replayable. This step lays the foundation for a polished final product.
7. Build a Prototype and Test It
Testing a prototype is where ideas meet reality. This phase transforms abstract concepts into a playable experience. It’s the first chance to see how the game works in action and identify areas for improvement.
Playing with Friends and Family
Start by inviting friends and family to play game sessions. These initial tests provide valuable insights into how the mechanics function and whether the rules are clear. Observing their reactions helps pinpoint what works and what doesn’t.
For example, Pandemic Legacy underwent an 18-month testing phase to refine its mechanics. This dedication to iteration resulted in a polished final product. Use similar dedication to ensure your prototype evolves into a seamless experience.
Gathering Feedback and Making Adjustments
Effective feedback collection is key to refining your prototype. Create forms with quantifiable metrics, such as enjoyment level and rule clarity. Recording gameplay sessions allows for detailed analysis later.
Handling conflicting feedback can be challenging. Use weighted voting systems to prioritize changes. For blind playtests with strangers, implement safety protocols to ensure a smooth process.
- Track player engagement and identify pain points.
- Iterate based on feedback to improve mechanics.
- Ensure the final version is both fun and functional.
By testing with friends, family, and strangers, designers can refine their prototype into a polished product. This step ensures the game is ready for the next stage of development.
8. Refine Your Game Design
Refining a game is where creativity meets precision. This stage focuses on polishing every detail to ensure a seamless experience. Iteration based on playtesting results is crucial for transforming a good game into a great one.
Iterating Based on Playtesting Results
Playtesting reveals what works and what doesn’t. Use feedback to adjust mechanics, improve clarity, and enhance player engagement. Tools like version control systems help track changes to game assets, ensuring consistency throughout the process.
For example, Cards Against Humanity standardized its components to maintain uniformity across editions. This attention to detail ensures every copy meets high-quality standards.
Finalizing the Rules and Components
Clear and concise rules are essential for a smooth gameplay experience. Professional graphic design considerations, such as using CMYK for print and ensuring bleed margins, enhance the final product. Below are key manufacturing specs to keep in mind:
| Specification | Requirement |
|---|---|
| Color Mode | CMYK for print, RGB for digital |
| Bleed Margins | 3mm on all sides |
| DPI | 300 for high-quality prints |
Before submission, use this checklist to ensure your final prototype is ready:
- Verify all components meet manufacturing specs.
- Test the final version with diverse groups.
- Ensure the rulebook is clear and error-free.
By refining every aspect of the design, you can create a game that’s both fun and functional. This stage ensures your vision is ready to be shared with the world.
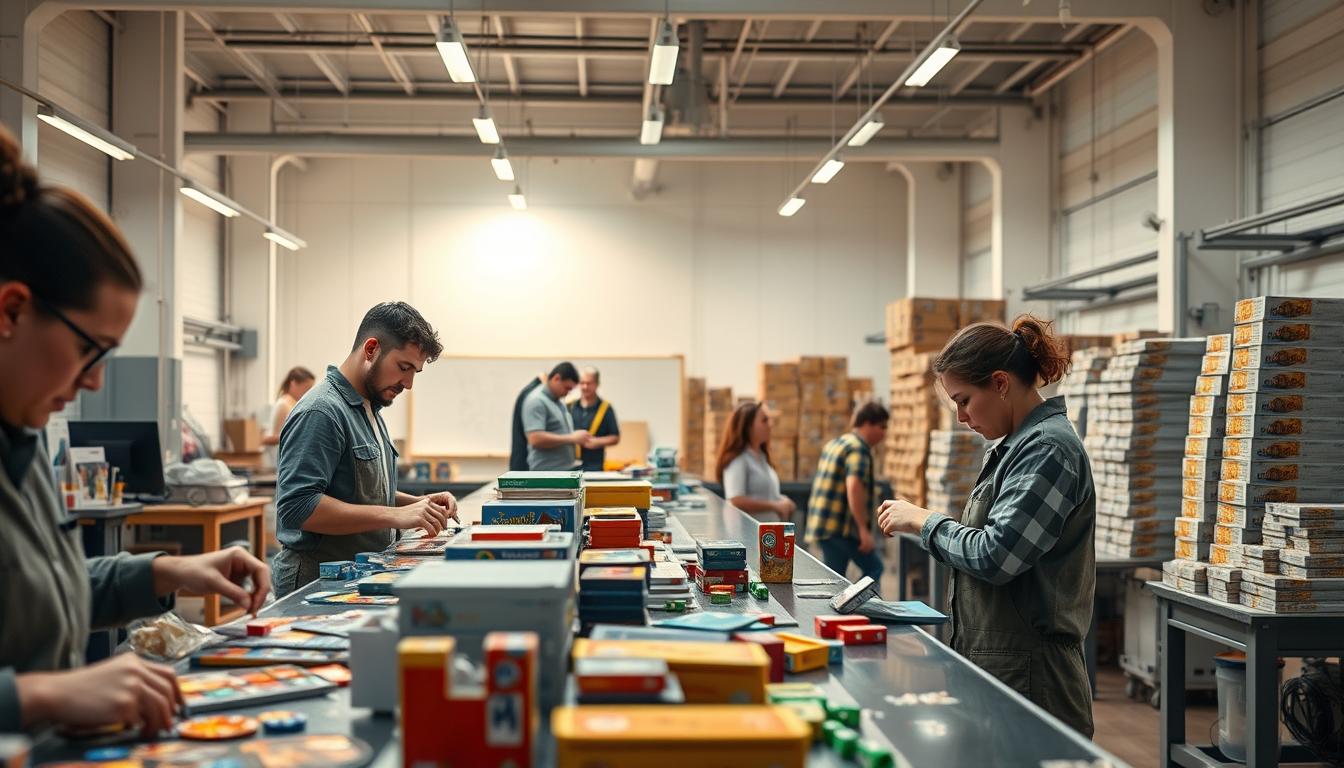
9. Prepare for Production
Taking your game from concept to the shelves requires careful planning and execution. This phase involves selecting the right materials and exploring manufacturing options to ensure a high-quality final product. Whether you’re aiming for a small print run or a large-scale production, every decision impacts the game’s success.
Choosing Materials for the Final Product
Selecting durable and eco-friendly materials is essential. Recycled cardboard and soy-based inks are popular choices for their sustainability. These options not only reduce environmental impact but also appeal to eco-conscious consumers.
For printing the game board and pieces, high-quality paper or cardstock ensures durability. Laminating the board adds longevity, making it resistant to wear and tear. Using standard sizes simplifies the production process and reduces costs.
Exploring Manufacturing Options
Manufacturing partners like Panda GM and The Game Crafter offer reliable solutions for board game production. A 500-unit print run is cost-effective for larger quantities, while print-on-demand suits smaller batches. Below is a cost comparison:
| Option | Cost | Best For |
|---|---|---|
| 500-Unit Print Run | $5,000-$10,000 | Large-scale production |
| Print-on-Demand | $10-$20 per unit | Small batches |
Shipping logistics and fulfillment centers play a crucial role in getting your game to the market. Partnering with reliable distributors ensures timely delivery to stores and customers.
Case studies like Frosthaven’s $12.9M Kickstarter campaign highlight the importance of strategic planning. Retailer pitch templates and MSRP calculations help position your game competitively in the market.
For more insights on designing game components, check out this guide.
Bringing a board game to life is a journey filled with creativity and strategy. From brainstorming ideas to refining the final product, every step shapes a unique experience for players. Conventions like Gen Con and Essen Spiel offer fantastic opportunities to showcase your creation to the world and connect with the gaming community.
Digital adaptations using platforms like Tabletopia can expand your game’s reach, making it accessible to a global market. Professional designers often emphasize the importance of persistence and passion in this process. Their stories inspire newcomers to keep pushing forward.
For those ready to take the next step, joining the Board Game Design Lab community provides valuable resources and support. Whether you’re refining your prototype or preparing for production, this network can help turn your vision into reality. Dive in, embrace the challenges, and make something truly fun.